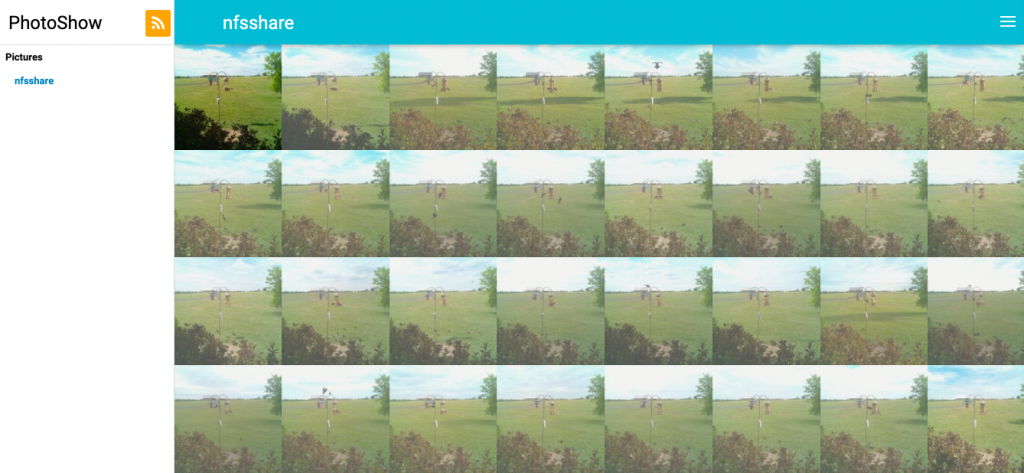
The final step in building my bird cam was creating a way to view the bird photos on demand. To do this I utilized Docker on a third Raspberry Pi by installing Docker and Docker Compose.
sudo apt install docker
sudo apt install docker-compose
Compose is a useful Docker tool that, among other things, allows you to run multi-container applications configured in a YAML file. On Docker Hub a useful photo gallery image linuxserver/photoshow has already been created, so I used that image to serve up the bird photos. At this point, I had already configured an NFS server and made this Pi an NFS client via a shared folder. To create the photo gallery, I first signed into my personal Docker account. I then added two subdirectories to my home directory on the Pi: a config directory, and a thumbs directory.
sudo docker login
sudo mkdir config
sudo mkdir thumbs
I left these directories empty, since in this case they only need to exist for the YAML file used to configure Docker Compose. I then created the YAML file named docker-compose.yml and included the following content:
version: "2.1"
services:
  photoshow:
    image: linuxserver/photoshow
    container_name: photoshow
    environment:
      - PUID=1000
      - PGID=1000
      - TZ=America/Louisville
    volumes:
      - /config:/config
      - /<em>photos-path-on-server</em>:<em>/photos-path-on-client</em>
      - /thumbs:/thumbs
    ports:
      - 80:80
    restart: unless-stopped
I configured a number of things in the YAML file :
- Image: Since I wanted to use photoshow to host my bird photos, I included here the exact name of the image as it appears on Docker Hub
- TZ: I put the appropriate timezone to match my location
- Volumes: Here I set three volumes. On each, the path on the left of the colon is the path on the server, the path on the right is the path within the container. In this case, the config and thumbs directories are the same for both (they’re empty). To map the path to the photos however, on the left of the colon I put the location of the shared folder on the NFS server. On the left is the location of the shared folder on this Raspberry Pi.
Finally, I started Docker Compose. The -d option allows Compose to run the photoshow image in the background, so that the command line is free.
sudo docker-compose up -d
To view the photo gallery, all I have to do is enter the IP of the Pi running the image followed by “:80” since the YAML file configured port 80 to run the website. There, after making an account, I can view new bird photos everyday.

For this project, one Raspberry Pi Zero W was outfitted with a camera scheduled to take photos all day long. The Zero mapped those photos to a shared folder with an NFS server, which in turn shared those photos with another Pi running Docker’s photoshow image.