
Until now, the blog I use to document my projects has been hosted on WordPress. To cut down on the cost of running my blog (and to complete a cool project), I’ve made my blog a static website.
Most websites we visit are dynamic websites, meaning that a web server generates the site with content that can change and be interacted with by users. Static websites are the opposite, they display the same content for every user and are shown exactly as they are written (usually using HTML).
Creating your static website does involve some coding, but all-in-all it can be easy. I used Hugo, Git, AWS Amplify, and AWS Route53 to create my static website.
Hugo
Hugo is an open-source static website generator. In a nutshell, you install Hugo on your machine and use it to create static website folders. You can select a website theme from Hugo and then add your posts to the static website’s folder on your computer. Hugo can be run with a few simple CLI commands, but you must also write your posts in the markdown language that Hugo uses.
I used homebrew to install hugo on my MacBook, but you can find other ways to install Hugo on their website
brew install hugo
To check that hugo has successfully installed, run hugo version in your terminal.

Now that hugo is installed, you can create a static website using hugo new site nameofsite.
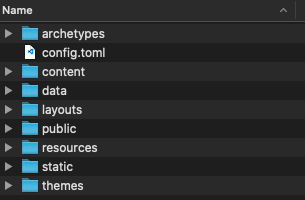
This will create a variety of folders for your static webpage.
Before you begin adding content to your site, you must install a theme. There are a variety of themes to choose from on Hugo’s webpage but the more complex the theme, the more difficult it is to configure your site.
The location of where you need to upload your posts/images varies depending on what theme you use. This can make getting your site up and running a little difficult. Themes do come with an “exampleSite” folder that you can reference for how to set up the folders of your static site, but there is some trial-and-error when creating your posts to see what loads correctly.
To install your theme, Hugo recommends using Git-but for simplicity’s sake I navigated to my theme of choice (https://themes.gohugo.io/ghostwriter/) on Hugo’s website and downloaded a .zip file of the theme. I then unzipped that theme in the /theme folder of my static website.
Once your theme is installed, navigate to that theme’s folder and find the /exampleSite folder. From there-copy any folders under the example site’s /content folder you would like to use into your site’s /content folder. I wanted to use /page and /post.
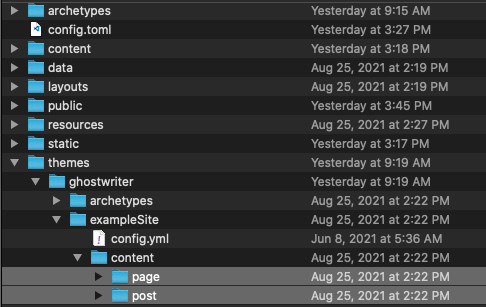
You’ll notice there is also a sample config file in the exampleSite. You can copy the content of the example config file into your site’s config.toml to add your theme’s information to your site.
NOTE: My theme was originally unzipped as “ghostwriter-master” in the /theme folder, but after copying the example config into my site’s real one- I saw that the theme = “ghostwriter”. To make the config file find my theme, I renamed the theme folder from “ghostwriter-master” to “ghostwriter”.
Further editing the config.toml file allows you to change the title, heading, and other options on your site.
To test your static website locally, run hugo server -D in the root directory of your website then navigate to (http://https://www.osnowden.com/) in your browser. This allows you to see what your website will look like before you actually deploy it.
To deploy your website run hugo in the root directory of your website. This generates a /public folder with all the necessary files for your static web page-which you will need later in the process of setting up your static website.
WordPress to Hugo
Once you have created the folders for your static website with Hugo and set up a theme, you can begin adding posts. Since I was moving my blog from WordPress, I needed to transfer my existing posts from WordPress to Hugo to avoid having to rewrite all my posts from scratch.
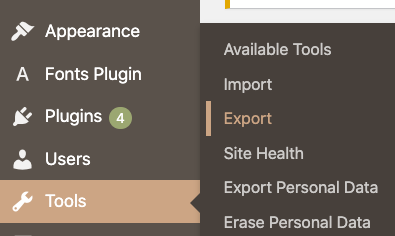
I used the ExitWP extension to convert my existing WordPress posts to markdown for me. First, download the extension using git clone https://github.com/wooni005/exitwp-for-hugo.git which creates a variety of folders. Next, on WordPress, I navigated to the export tool and chose to download just the posts.
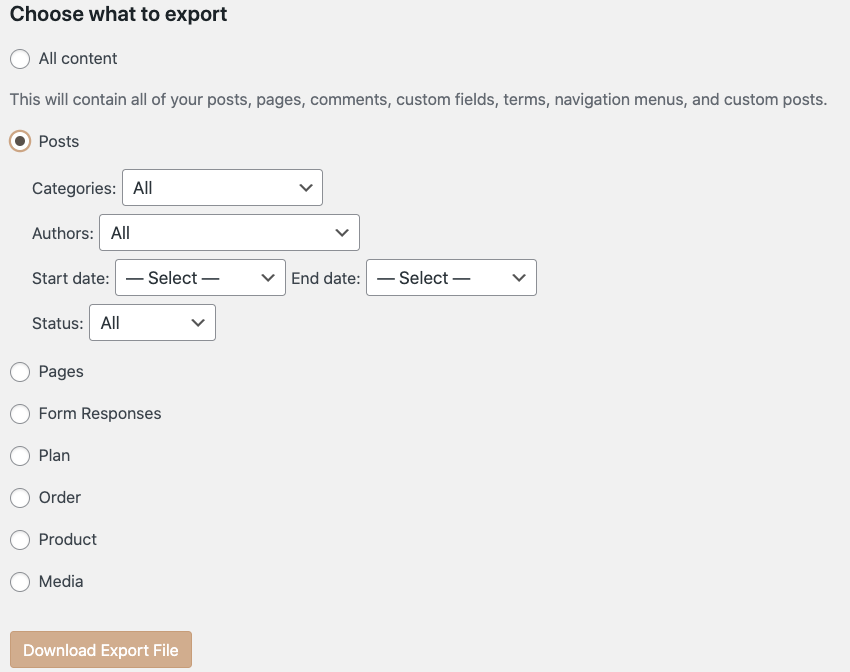
The posts export as .xml files, which I placed into the wordpress-xml folder the ExitWP extension created. A handful of dependencies are required to run the ExitWP extension. The commands to download these dependencies can be found on the extension’s Git page.
On my Mac I ran: sudo pip install –upgrade -r pip_requirements.txt
Once the dependencies are installed, run ./exitwp.py in the root directory of the extension to execute the python script that converts the WordPress posts to markdown. The converted files should show up in the extension’s /build folder.
Writing Posts
Although I converted posts from WordPress to markdown, a little tweaking on the converted posts was necessary. For example, I changed the extension of the posts to be “.md” instead of “.markdown” to match the post format from the example site. I also had to download all the photos in my posts from WordPress and store them in the /static folder of my site.
NOTE: The example site of my theme had images stored in an /image folder under the main directory, but I discovered they only showed up on my site when I stored them in the /static folder instead-once again trial and error.
Once my photos were downloaded into the correct folder, I had to open each post file and change the format of the image elements to point to the correct photo. For my blog the syntax was ![alternate text] (/photo name).
When writing new posts using Hugo, you have to use markdown language to format your posts correctly. The syntax for markdown can be found on Hugo’s website. and it’s pretty similar to writing in HTML.
You define the format of your post (like italics, bulleted lists, etc.) using markdown, but the actual style of your post and website is defined by your theme. You can edit that style by editing the config.toml file or the config files in your theme folder, but I chose to get the site working before making any style changes.
Git
Once the Hugo static website is set up on your machine, the next step is making the site available to the public. To do this, I set up a Git repository of the /public folder my Hugo site generated. I then used AWS Amplify to point to that repository and serve the website using an AWS Route 53 custom domain name.
While you can place all the static site’s folders in the repo, the /public folder stores all the files for the public version of the website and adding anything more would be unnecessary.
I have Git and the GitHub Desktop app installed on my machine. First I navigated to the /public folder of my website in the terminal and ran git init name_of_repo and then git add .
These commands initialized a repo for the /public folder (and gave that repo a name) then added all the files in that folder to the repo. Now that the files are staged to be committed to the repository, I ran git commit and then git push.
At this point, I navigated to my GitHub account and confirmed that the git repository was there with all the files under the site’s /public folder.
AWS Amplify
Once the /public folder of the static website was placed into a public Git repo, I used AWS Amplify to host the website.
AWS Amplify allows you to host apps in the cloud using Amazon Web Services. While Amplify does offer a variety of complex services for things like machine learning and targeted campaigns, creating a static website using Amplify is pretty simple.
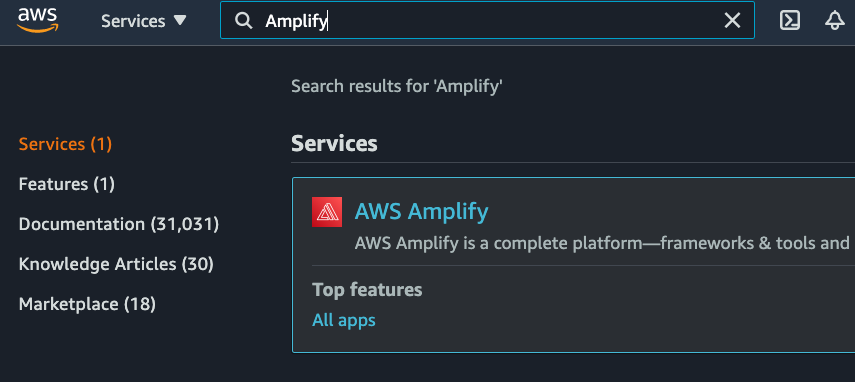
You must have an AWS account to use Amplify and Route 53 (discussed later). Once you log in to your AWS account navigate to the “AWS Amplify” service.
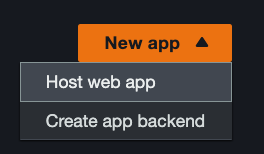
In Amplify, select “New app” > “Host web app”
Select GitHub under “From your existing code” since you will be connecting the Git repo with the /public folder in it to Amplify. From there, you can select the repo you would like to connect to Amplify and the branch (in my case, it was just the main branch since I did not add more branches to the repo). Next, you can change the app name and the app’s settings which I kept the same. Finally, you review the contents of your app and then select “Deploy” to create it.
Now in the AWS Amplify service, you should see your website as an app under “all apps”. If you click on your app you can watch the process as Amplify provisions, builds, deploys, and verifies it for you.
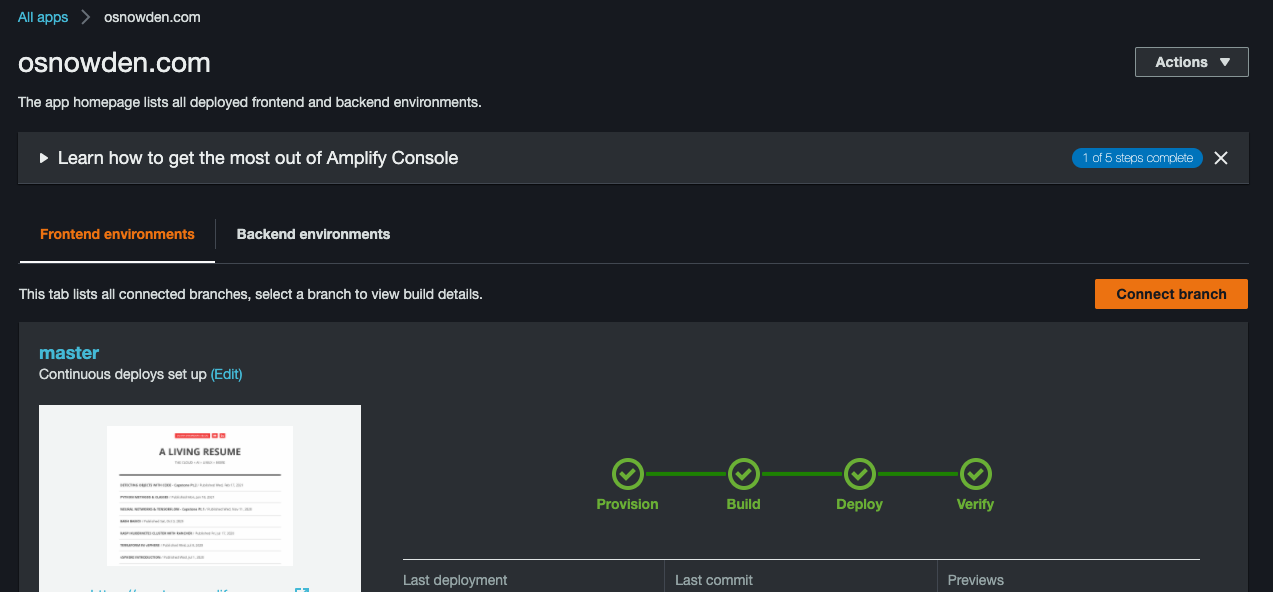
You can click on the link Amplify provides you under the picture of your app to visit your static webpage and make sure it looks like it should.
Route 53
The last step I took in configuring my static website was to add a custom domain name to my Amplify app using Route 53. The instructions to do so can be found here.
Route 53 is a Domain Name System (DNS) service AWS provides. You can use Route 53 to route end users to your apps using custom, or “prettier” domain names.
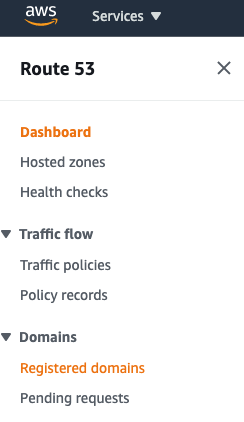
To use Route 53, first navigate to the Route 53 service in AWS. From there, you can view your registered domains. If you don’t have any, you can select the “Register Domain” button to do so-but the domain for my blog (osnowden.com) had already been registered.
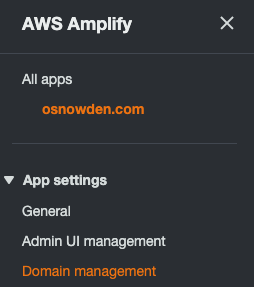
Back in Amplify, select App Settings > Domain Management
Then choose to “Add domain” and fill out your domain’s information. When I added my domain, it became stuck on the “Domain activation” step.
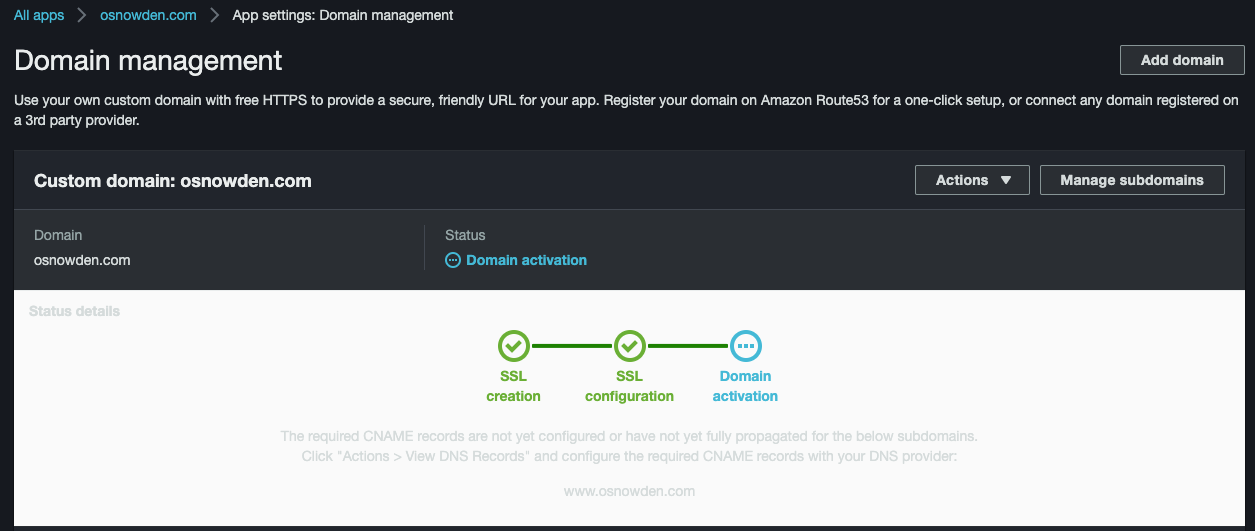
To fix this, I had to add two records to my domain in Route 53 so that it would resolve the Amplify app correctly. The instructions to do so can be found under the Actions > View DNS Records button on Amplify’s “Domain management” page.
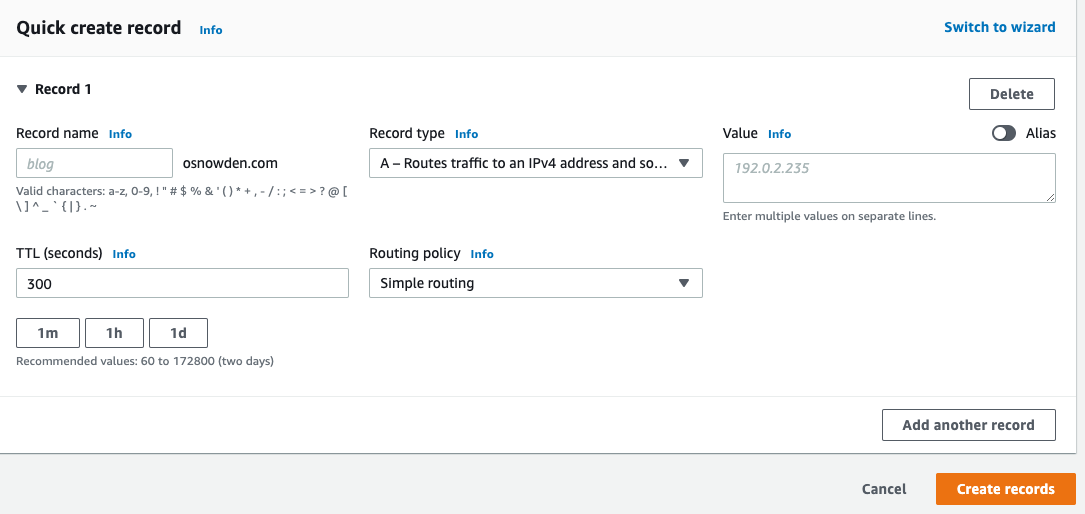
To add the records, I navigated to Route 53 > “Hosted zones” and selected my domain to view it’s records. Selecting “Create records” allowed me to then add the two necessary records.
I first added an A record with the format @.osnowden.com A appid.cloudfront.net and a CNAME record with the format www.osnowden.com CNAME appid.cloudfront.net
The appid of my Amplify app I copied from the URL at the bottom of the “Domain management” page in Amplify. The URL should be in the format: https://master.appid.amplifyapp.com
Once the records were added, my static website was then accessible from www.osnowden.com!