Introduction to Terraform
Terraform by Hashicorp is a “tool for building, changing, and versioning infrastructure safely and efficiently”. Terraform works using infrastructure as code, meaning that build a blueprint of the resources you need in a configuration file (with the .tf extension) and Terraform builds that infrastructure for you. The Terraform package itself is a single binary file, easily downloaded, and is used to build/edit/destroy your resources.
In contrast to older versions of infrastructure build tools like Packer, Terraform allows you to create infrastructure across multiple cloud providers and is “smart” enough to know how many more machines to create in context of what you already have. For example, if you have 5 servers on Azure, but you want 10, Terraform will build 5 more for you to bring you to a total of 10 versus building 10 more servers and leaving you with 15.
A helpful feature of Terraform is the ability to plan your infrastructure before it is constructed. There are four basic terraform commands: terraform init, terraform plan, terraform apply, and terraform destroy. terraform plan is what allows you to see what resources are being created/destroyed based on your configuration file. If everything checks out, terraform apply builds your infrastructure and reports on what was created. terraform destroy, you guessed it, easily destroys the resources defined in your configuration file and reports on what was destroyed.
The ability to create cross-platform resources is due to Terraform’s many providers that support API interactions between their platform and Terraform. As you’ll see below, once you define the provider of your choice in your configuration file you run terraform init to initialize the directory containing your Terraform config files. If you already have files created running terraform init will push any changes made since the command was run last.
Using Terraform to build a VM
I used Terraform to create and destroy a VM in the vSphere environment I built in my home computer lab. VMware vSphere is a Terraform provider, and an example configuration file along with information on how to create complex resources can be found on Terraform’s website. However, I used a configuration file found on GitHub that worked well for practicing Terraform. These steps assume that you have a vCenter server set up and at least one functioning VM template.
STEP 1 Download Terraform
Depending on the OS of your machine, you can easily download Terraform in a number of ways. Since I use a MacBook and have homebrew installed I ran brew install terraform to download the single binary file. Adding --version to the name of a package will allow you to check 1) that the package actually downloaded and 2) the version you have installed. I quickly ran terraform --version to check that the file installed correctly and noted the version.

STEP 2 Create a configuration file

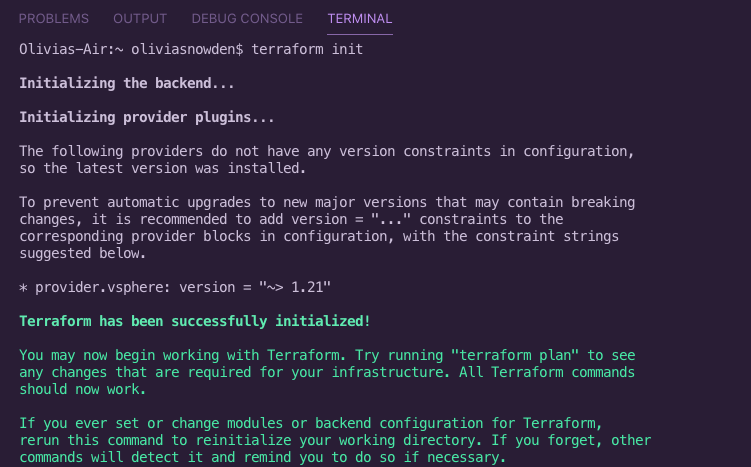
Create a file and give it a .tf extension. The first few lines of the configuration file should define the provider you choose to use and list the login information for your account there. In my configuration file I included the username/password of my VMware account and the ip address of my vCenter server. This allows Terraform to be able to “log in” and create the resources for me. I also included an allow_unverified_ssl line, since my vSphere environment doesn’t have a certificate signed by any official authority and I didn’t want Terraform to throw a security error. At this point you can run terraform init to check that your configuration file successfully uses Terraform to reach the provider you chose and initialize.
After you define the provider you wish to use, you list the information Terraform requires to work in vCenter. You can write your configuration file in JSON but I used the Hashicorp Configuration Language (HCL), which is easily readable and developed by Hashicorp especially for Terraform. There are a wide variety of options that you can list to create a VM, all are explained on Terraform’s website, but the configuration file I used had a few simple data sources:
- vsphere_datacenter: the name of the datacenter where your VMs live
- vsphere_resource_pool: the name of the resource pool your VMs are under (if you do not have one put your_clustername/Resources in place of the name)
- vsphere_host: the IP address of the host where you would like your new VM(s) deployed
- vsphere_datastore: the name of the datastore where you store your VM ISO files (the storage device connected to your VMs)
- vshpere_network: the name of the network you would like your new VM(s) in
- vsphere_virtual_machine: the name of the VM template that you would like to use to create your new machine(s)
You can see each data source is defined by the “data” keyword, the official name of the source, and then a friendly name. You then list the name of the appropriate feature in your vSphere environment and a datacenter_id. The datacenter_id is the managed object ID of the your datacenter. The line datacenter_id = data.vsphere_datacenter.dc.id stays the same for each data source since it points to the same place (your datacenter). It is basically a query for the ID of your unique datacenter, and the query looks different for older versions of Terraform.
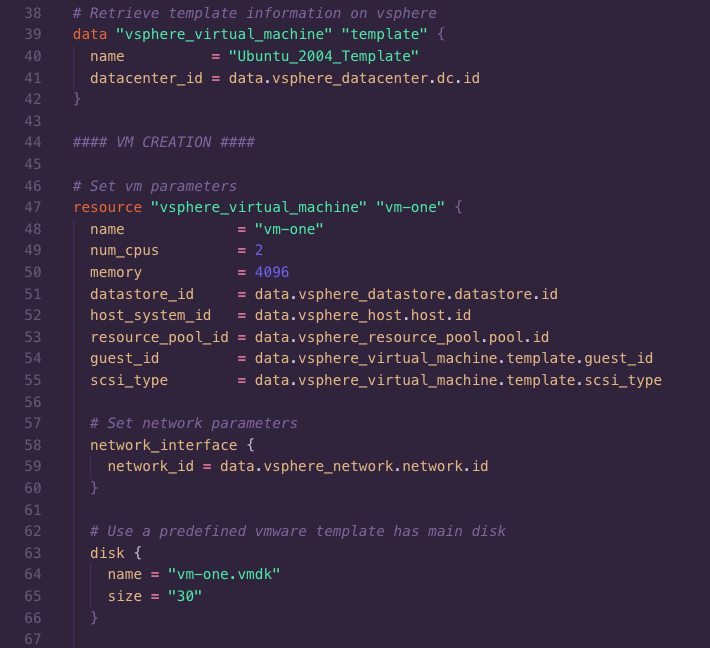
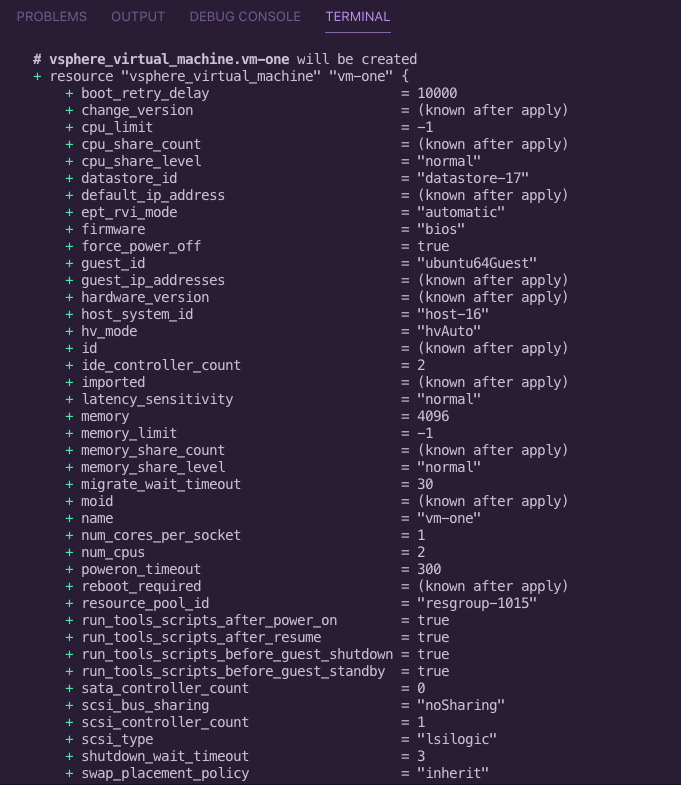
Once you define your data sources, you need to create a resource and call on those data sources to build it. Each resource begins with the “resource” keyword" and the official name/friendly name. You then give the VM a name, the CPU/memory specifications and a list of managed object IDs. These lines are similar to the datacenter_id variable but instead of calling on your datacenter they call on your: datastore, host, resource pool, VM template, and network. The basic format is:
<em>source</em>_id = data.<em>officialname</em>.<em>friendlyname</em>.id
The only exceptions are the two variables that come from your VM template. Instead of a .id they end with a ._nameofvariable_ since they weren’t explicitly listed as data sources. Then list the specifications of the disk of your new VM.
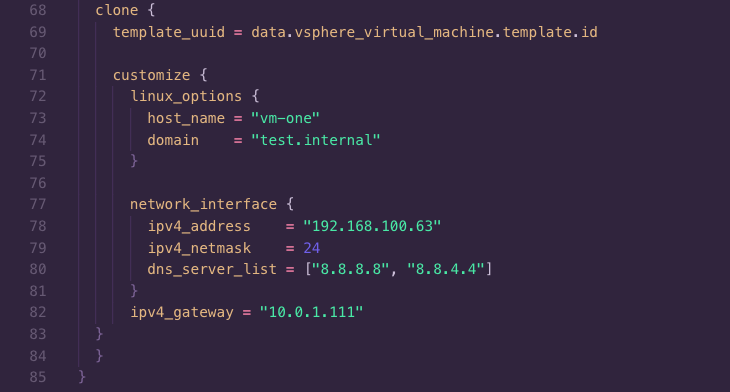
Finally, you give the new VM you want created from the template a unique configuration. Since I was using an Ubuntu template, I customized using linux_options. I also gave the VM a new IP address/mask/DNS/gateway so that it would be able to connect to the internet as soon as it was created.
**STEP 3 Terraform plan **
Once you have your configuration file written, you can run terraform plan. This allows you to check for errors in the file and fix them, and review the infrastructure you outlined to make sure it what you want. I wrote my config file in Visual Studio Code, and ran terraform commands from the terminal there.
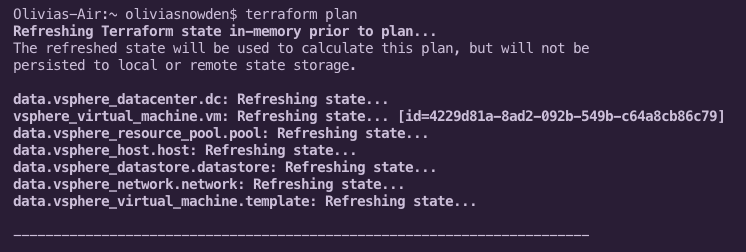
After terraform plan outlines the infrastructure you included in the configuration file it lists how many resources you plan to add/chance/destroy.

**STEP 4 Terraform apply **
If terraform plan doesn’t throw any errors and shows the infrastructure you want, run terraform apply to build your resources.
You will be asked to confirm that you want the resources built, this point is your last chance to go back and edit your configuration file before the resources are created.
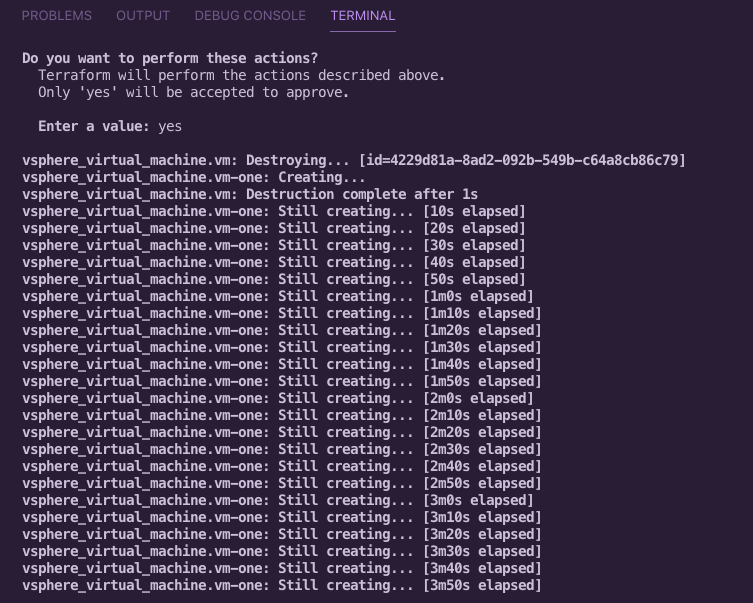
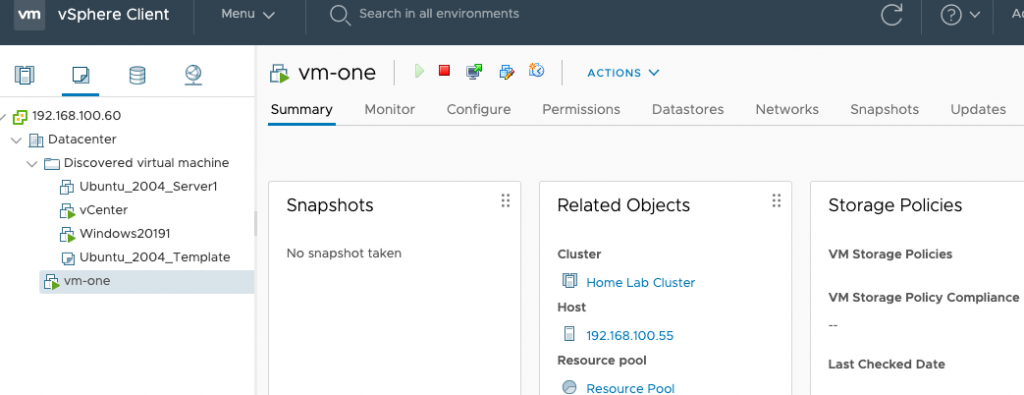
As terraform apply was run I was able to watch it execute tasks in my vSphere client. Once it was finished, I had a new VM “vm-one”!
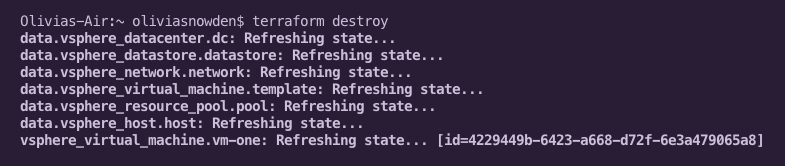
**STEP 5 Terraform destroy **
Once you are finished with the resources you created, you can run terraform destroy to easily tear down the machines defined in your configuration file.
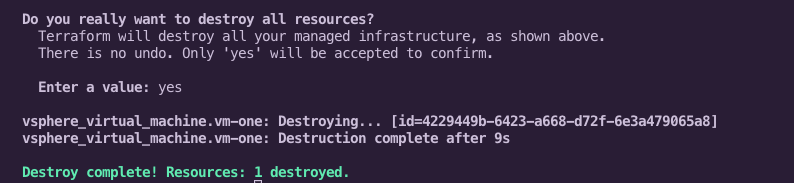
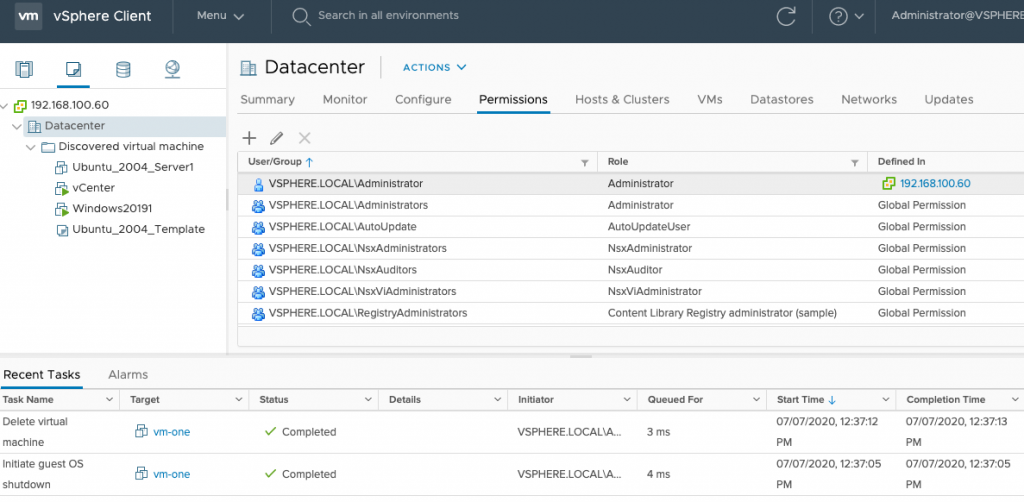
After I ran terraform destroy I went back to my vSphere Client and saw the vm-one was successfully removed.
There are a wide variety of ways you could write the configuration file to build a VM with Terraform, the file I used is only one option. In addition to VMware vSphere, Terraform can be used to create/maintain/destroy resources in Azure, AWS, and more.